The Art of Candle Making: A Beginner’s Guide to Crafting Warmth & Light
Discover the joy of creating your own candles, from selecting the perfect wax to blending signature scents.
By Bobby B. | February 15, 2025
Why Make Your Own Candles?
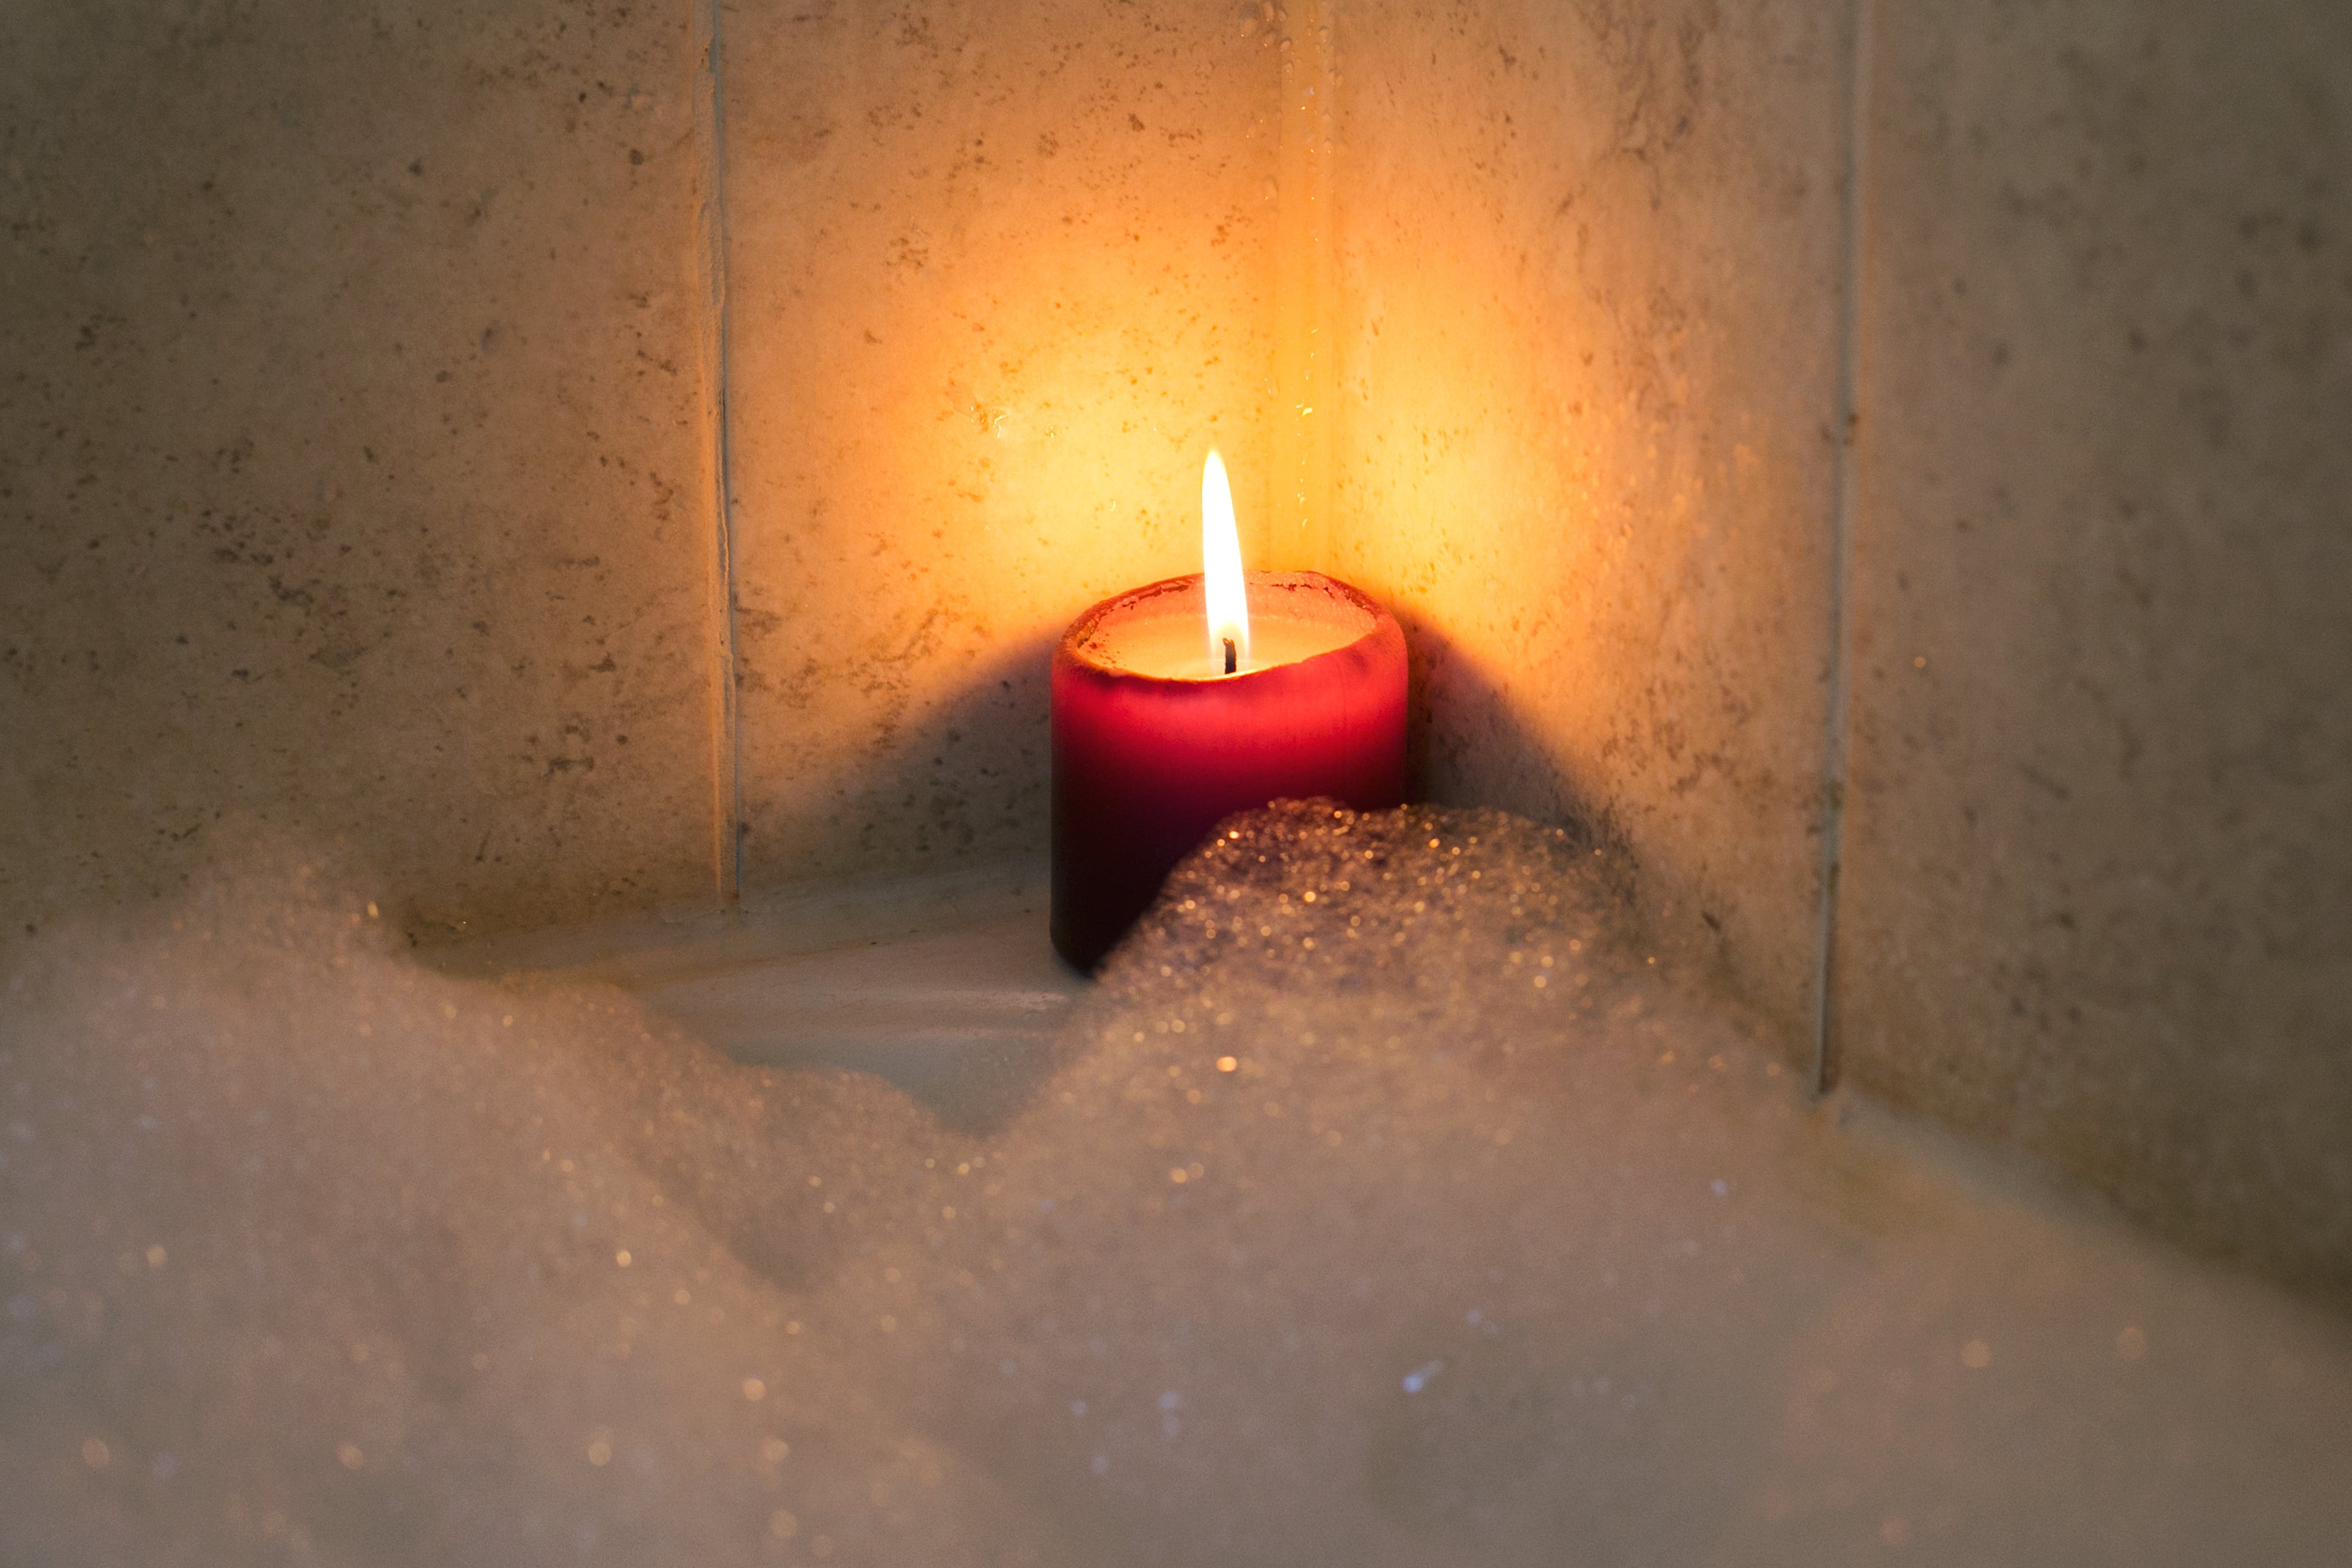
There’s something magical about candlelight. The flicker of a flame, the comforting scent in the air, and the warmth it brings to a space. But what if you could create that ambiance yourself? Candle making is more than just a craft—it’s an art, a meditative practice, and a way to express your creativity.
Benefits of DIY Candle Making:
Customization: Choose your own scents, colors, and designs.
Healthier Ingredients: Avoid synthetic additives and opt for natural waxes and oils.
Cost-Effective: Handmade candles can be more affordable than high-end store-bought options.
Therapeutic Process: The act of melting, mixing, and pouring can be relaxing and fulfilling.
Getting Started: Essential Supplies
Wax Options:
Soy Wax: Clean-burning, natural, and beginner-friendly.
Beeswax: All-natural with a subtle honey aroma and long-lasting burn.
Paraffin Wax: Strong scent throw but contains synthetic components.
Coconut Wax: Luxury wax with a creamy finish and excellent fragrance retention.
Wicks:
Cotton, wood, or eco-friendly wicks. Choose based on your candle’s size for even burning.
Fragrance Oils & Essential Oils:
Create custom scent blends that evoke memories or enhance relaxation.
Dye (Optional):
Liquid dyes blend seamlessly; dye chips provide vibrant pigmentation.
Containers or Molds:
Use glass jars, tins, or silicone molds that are heat-resistant and safe for burning.
Tools You’ll Need:
Double Boiler or Wax Melter: For safe and even melting.
Thermometer: Ensures wax reaches the right temperature for fragrance and smooth finishes.
Wick Holders or Adhesives: Keep wicks centered for even burning.
Step-by-Step Candle Making Process
-
Melt the Wax
Use a double boiler to melt wax to 170-185°F, stirring occasionally. -
Prepare the Wick
Secure the wick to the center of your container with an adhesive or wick holder. -
Add Fragrance & Color
Let wax cool slightly (around 140°F) before adding fragrance oil and dye. Stir for at least 2 minutes. -
Pour the Wax
Slowly pour into the container, avoiding air bubbles. Pouring too hot can cause sinkholes, while pouring too cool may result in an uneven surface. -
Let it Set
Allow the candle to cool for 24 hours in a stable environment. -
Trim the Wick & Enjoy
Cut the wick to ¼ inch to ensure a clean, even burn. Let the candle cure for 3-5 days for the best scent throw.
Pro Tips for the Perfect Candle
✅ Trim the Wick Regularly: Prevents excessive flickering and soot buildup.
✅ Experiment with Scents: Blend fragrance oils for unique combinations. Try lavender & vanilla or citrus & cedarwood.
✅ Test Before Gifting or Selling: Each wax and wick combination burns differently. Keep a journal of your formulations.
✅ Store Properly: Keep candles in a cool, dry place to preserve their scent and appearance.
The Joy of Candle Making
Candle making isn’t just about wax and fragrance—it’s about crafting an experience. Whether you’re making candles for relaxation, gifts, or launching a small business, each one holds a story. The sense of accomplishment that comes with lighting your own handmade candle is unmatched.
So grab your wax, pick your favorite scent, and start crafting. Your perfect candle is just a pour away!
Share & Follow
Website: www.bbcandleco.net
Instagram/TikTok/Facebook: @bbcandlecollc
Email: support@bbcandleco.net
For more candle-making tips, guides, and exclusive offers, follow us on social media! 🔥🕯️

